Instagram Grid Maker
Free Instagram grid maker. Upload an image, split it into 3x3, 2x3, or 1x3 tiles, and download as a ZIP. Browser-only: your image never leaves your device.
- Plan a 9-tile Instagram grid tease for a new launch.
- Split a panorama into a 1x3 triptych for a profile-grid hero.
- Build a 6-tile horizontal strip from a landscape photo.
- Drop a brand banner image into the grid for instant brand-feel.
- Split a portrait shoot for a coordinated multi-post drop.
JPG, PNG, WebP, or HEIC. Up to 25 MB. The split runs in your browser - the image never uploads.
Classic 9-tile grid - the standard Instagram tease.
Preview
Upload an image to start
Click any tile to download it on its own. ZIP filenames are numbered in posting order: tile-1 first, tile-9 last.
The image never leaves your browser - splitting runs entirely on the canvas API. We don't upload, store, log, or compress your image.
What is an Instagram grid maker?
An Instagram grid maker takes one image and splits it into a precise grid of tiles - typically 3x3, 2x3, or 1x3 - so you can post each tile individually and the profile-grid view shows them as one coherent image. It's the technique behind every coordinated launch banner, brand cover image, and panorama tease on Instagram. This tool runs entirely in your browser using the Canvas API; your image never uploads.
How Instagram's profile grid actually fills
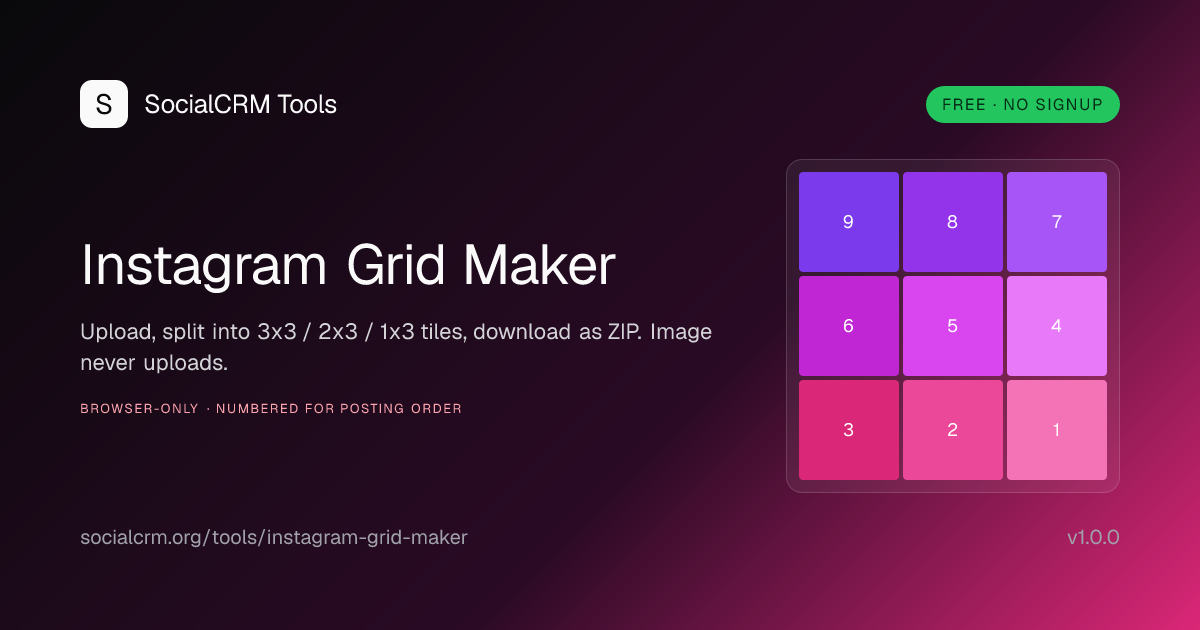
Instagram fills the profile grid right-to-left, top-to-bottom - the most recent post lands in the top-left. So to display a 9-tile grid correctly, you have to post in reverse: bottom-right first, top-left last. The tool numbers the output ZIP in that posting order, so you can post tile-1 through tile-9 in sequence without thinking about it.
- 3x3 grid = 9 tiles, the classic launch tease.
- 2x3 grid = 6 tiles, cleaner for landscape source images.
- 1x3 grid = 3 tiles, best for triptych panoramas.
- Posting order is reversed: tile-1 first (bottom-right), tile-9 last (top-left).
- Output is JPG at 92% quality - matches Instagram's upload quality.
Working the grid maker
- Upload an image. JPG, PNG, WebP, or HEIC up to 25 MB. The split runs in your browser using the Canvas API - the image never uploads to a server.
- Pick a grid layout. 3x3 for the classic 9-tile tease, 2x3 for landscape source images, 1x3 for triptych panoramas. The image is centre-cropped to match the chosen aspect ratio first.
- Preview the tiles. Live preview shows the grid with 2px gutters - the same gap Instagram renders on the profile grid. Click any individual tile to download just that one.
- Download all as ZIP. ZIP filenames are numbered in posting order: tile-1 first, tile-9 last. Post in that order and Instagram fills the profile grid correctly (right-to-left, top-to-bottom).
Best practices for a grid that holds together
- High-detail textures across seams. Instagram's upload compression slightly affects flat-colour seams. Sky, water, foliage, fabric textures hide compression artefacts.
- Square source for 3x3. Centre-cropping a portrait or landscape photo to a square loses meaningful composition; start with a square shoot.
- Plan the eat-back. Your grid lives until your next regular post pushes tile-1 off the visible 9. Most grids last 1-2 weeks at most.
- Caption each tile differently. Each post has its own caption - use them to tease the next tile or land a different angle.
- Schedule the posting cadence. Same time every day or every other day reads as intentional. Random gaps read as disorganised.
Frequently asked questions
Why are tiles numbered tile-1 to tile-9 starting bottom-right?
Instagram fills the profile grid right-to-left, top-to-bottom - the most recent post sits in the top-left. So to display a 9-tile grid correctly, you must post the bottom-right tile first and the top-left tile last. The numbered filenames match that posting order.
Does my image get uploaded?
No. The split runs entirely in your browser using the Canvas API. We don't upload, store, log, or compress your image. Disconnect from the internet after loading the page and the tool still works.
What aspect ratio should my source image be?
3x3 layouts work best with a square source (1:1). 2x3 works best with a 3:2 landscape source. 1x3 works best with a 3:1 panorama. The tool centre-crops to match the layout, but starting close to the target aspect preserves more of your composition.
What image formats are supported?
JPG, PNG, WebP, and HEIC (on supported browsers). Output is JPG at 92% quality - matches Instagram's upload quality without bloating the file.
Will the tiles look seamless when posted?
Yes, with one caveat: Instagram applies its own compression on upload, which can slightly affect the seam between tiles on solid-colour backgrounds. For a perfectly seamless grid, compose your source image with high-detail textures across the seams (sky, water, foliage) rather than flat colour blocks.
How long does Instagram show a coordinated grid?
Until you post your next regular post. The 9-tile grid lives until tile 10 lands on the profile, at which point tile-1 falls off the visible 9. Plan for grid teases to live ~2 weeks at most before being "eaten" by new posts.